Monster High Shaker
Things you'll need:
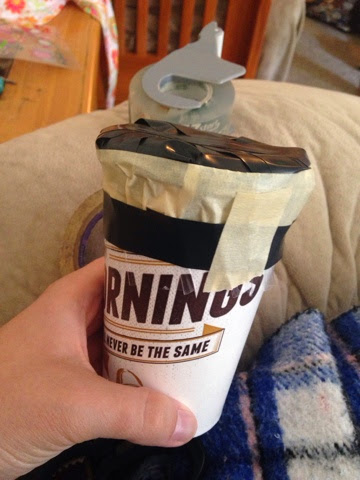
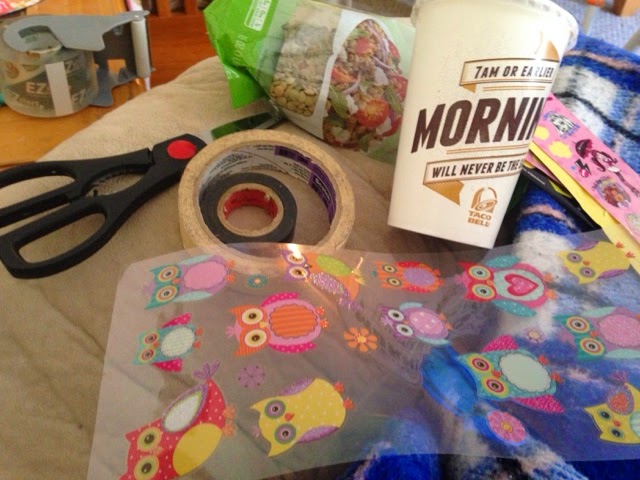
Cup with lid
Tape
Scissors
Beans
Stickers
Sharpie (optional)
Fabric
2 Rubber bands
Cover the lid with tape for extra support.
[
TIP:] All I had was electrical tape, masking tape, and packing tape...it would probably be better with duct tape.
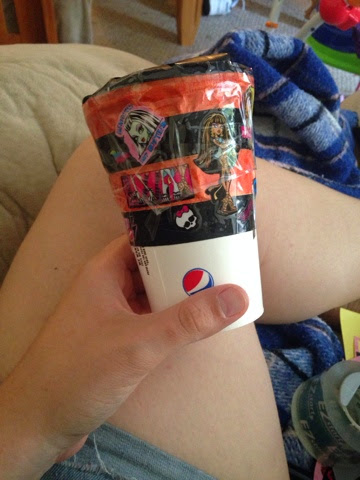
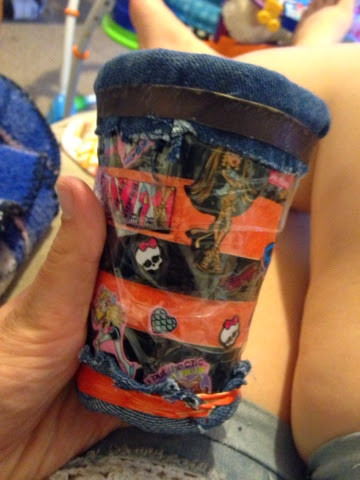
I did one row electrical tape, one row masking tape. I colored the masking tape with sharpie and covered the tape in stickers, then covered it all with packing tape so the stickers won't fall off.
[TIP:] packing tape is incredibly difficult to work with...
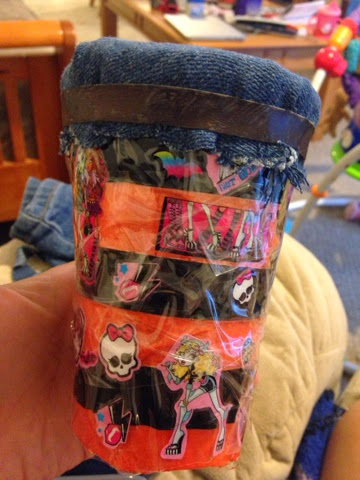
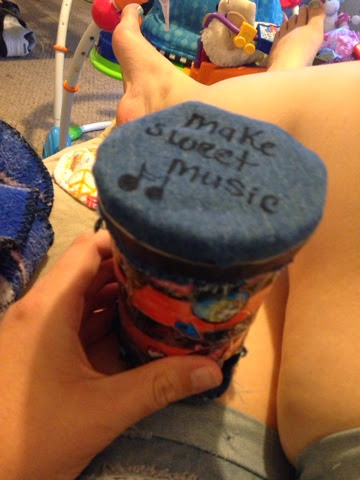
Then, I used denim and a rubber band to cover the lid and colored the rubber band with black sharpie so it would match..
I did the same thing on the bottom, and colored the other rubber and with orange sharpie.
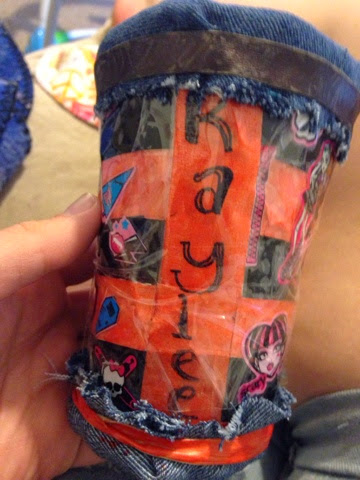
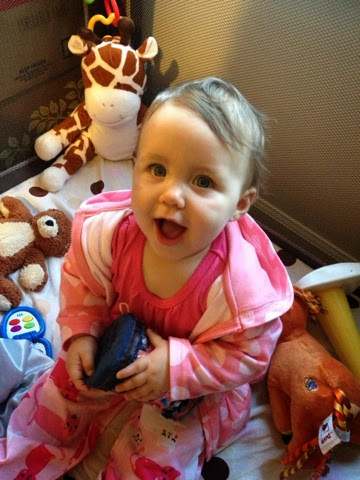
Kaylee is my daughter's name:)
Then I wrote a cute message on the denim!!!
I probably would have made it look better but I was distracted by my eight-month-old chewing on the masking tape...😁
Please share what you've done to make rain makers :)! I'd love to see them.